Pages

Showing posts with label boxes. Show all posts

Monday, October 25, 2010

Mailbox

This mailbox is going to be a gift for my girlfriend's parents . They needed a relatively big one to be able to swallow an A4 sized envelope and several newspapers.


Firstly, I had to cut the lumber into proper size. The corners are jointed in 45 degree angles, so I planed the edges into 45 degree. It took some time until I got them to fit correctly.


When it was ready I glued the pieces together and the maibox had its shape:


Then I put the roof on the top of the mailbox:


When it had its final form, I shaped out the nameplate:


Then carved the name and address into the nameplate:


To get more contrast for the text, it was burnt with a soldering-iron.

When it was ready, only finishing was left. It was an UV resistant outdoor stains in 2 layer, I hope it will be good for a while because it had a terrible smell. Now it looks like this:


Originally It had a leg, but it was easier to use a squared iron to fix it to its final place.

Sunday, September 13, 2009

Keepsake Box

While I was surfing on the Internet I found the following Keepsake box. I liked the closing system of this box and also found it quite simple to create a similar one. I did not want to make an exact copy of the original one, I wanted a bit higher one and to decorate the top with some carving.

Creating the dovetail sliding seemed very easy on the video, but I do not have a router table, so I had to figure out something else. Firstly I wanted to create this by cutting out the dovetail hole with a saw and clean out it wit chisels, but soon I realized that I didn't have enough manual skill to make it perfectly flat to allow the other part sliding smoothly in it. So I decided to make the top from 3 parts and glue them together. It also took a while to plane the parts of the top in the exact angle to fit well, but it was much easier and flattering than using chisels.

When I was ready with the top and the bottom, I created the corners and the remaining part of the dovetail from a different type of wood to have some pattern of the materials.

Finally I carved a small flower pattern to the top of the box and finished with varnish. With the carving on the top of the box has the following looking:

Keepsake box


One more shot from a different angle:


Finally an opened view:

Wednesday, August 12, 2009

Jewelry Box

Since I have started working with wood my girlfriend was always pushing me to create a jewelry box for her, even if she does not have too much jewelries. I thought this is a compulsory task for every man who has started to do anything of wood.

I did not have any experience with box creating and joinery so I asked some help from an experienced one of my relatives and also had proper tools for cutting and planing. So he helped me to create the box.

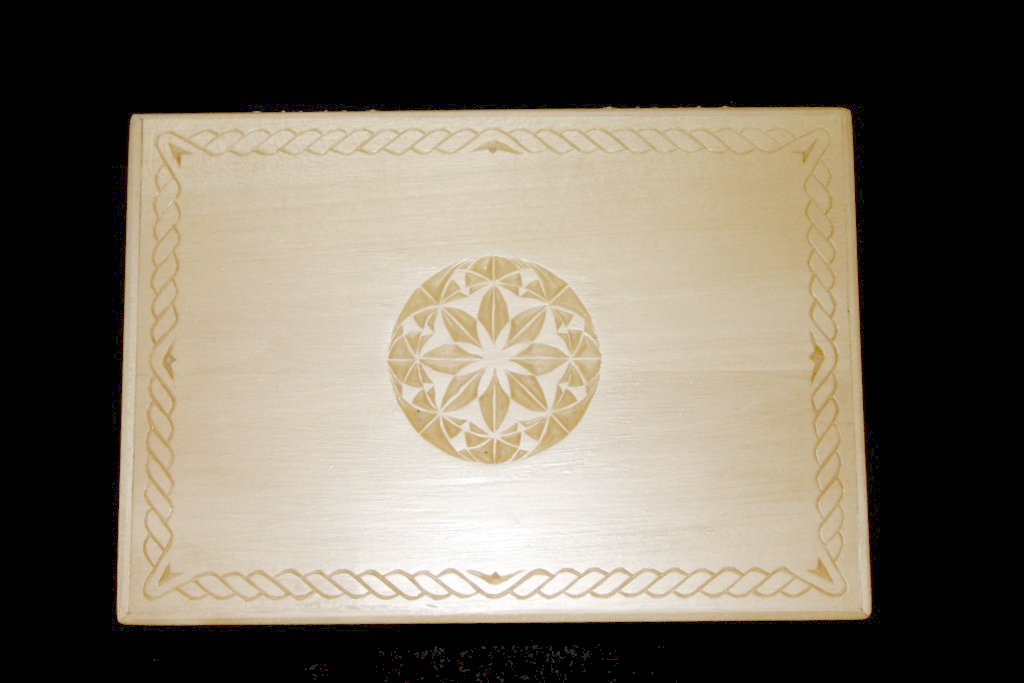
When it was ready I just wanted to put some simple but nice carving on the top. I draw several patterns and borders and finally I chose this one:

Carved jewelry box


I also covered the bottom of the box with some soft material:


And also the drawers:


Finally I put a hinge between the body and the top: